Operationalize Exposure Response
Exposure Response transforms raw vulnerability data into Initiatives—targeted remediation projects with defined owners, service level agreements (SLAs), and automated tracking. This playbook focuses on a Ransomware Prevention scenario to demonstrate the full lifecycle of a high-priority exposure event.
Objective
Transition from a static "vulnerability list" to a proactive, project-based Exposure Response model.
Prerequisites
-
Ensure you have the appropriate permissions to view the data.
-
Ensure you have the appropriate Scan permissions to validate fixes.
-
Integration with a ticketing system (Jira/ServiceNow).
Step 1: Define the Threat
A Combination is the logical filter that defines the risk you want to mitigate. You can create a custom combination to define this threat for your business needs.
-
Log in to Tenable Vulnerability Management.
-
In the left navigation, click
 Exposure Response > Manage Combinations.
The Exposure Response page appears with the Manage Combinations tab open.
-
In the upper-right corner of the left panel, click the
 button.
The Create an Exposure Response Combination pane appears.
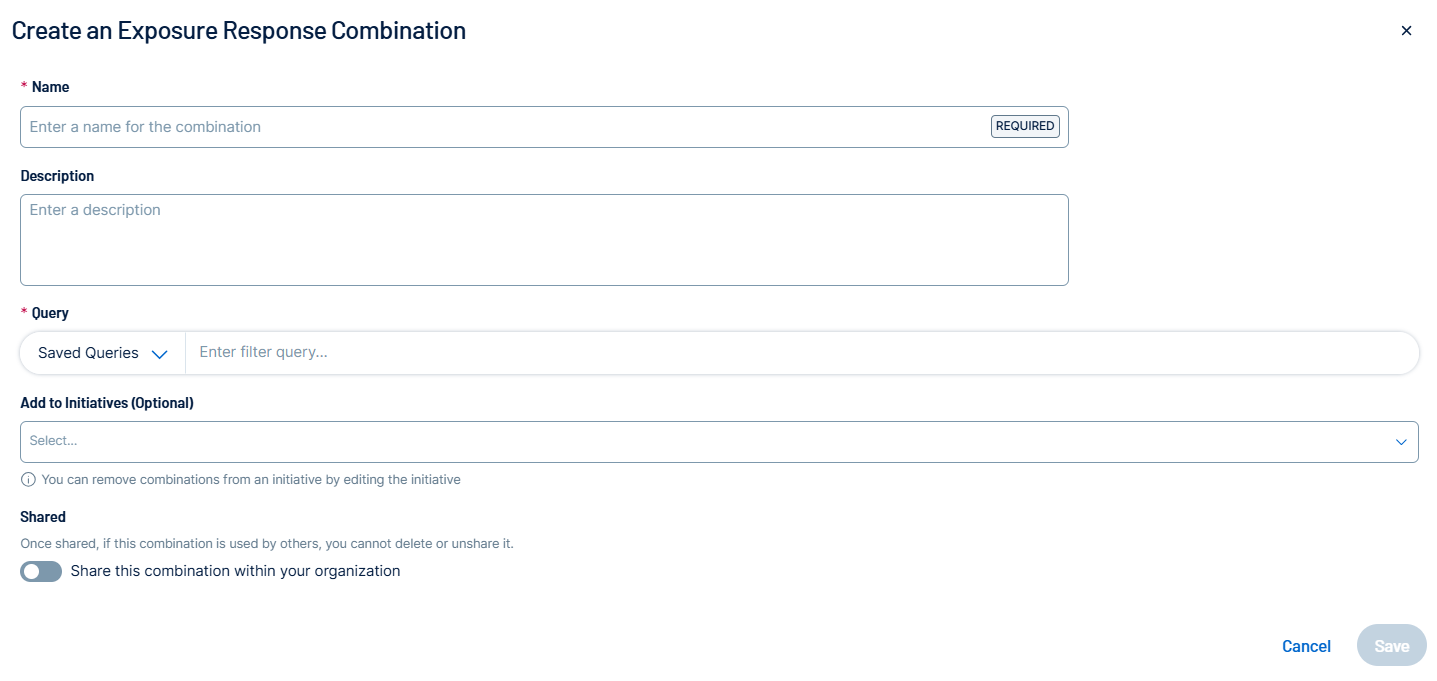
-
In the Combination Name text box, type Ransomware Exploitable Vectors.
-
In the Filters section, select Vulnerability Category and then search for Ransomware.
-
(Optional) Add a filter for Exploit Available and set it to True.
-
Click Save.
The combination appears in the Combinations list in the left panel.
Step 2: Scope the Assets with Tags
To target remediation, use asset tags to define which teams are responsible for which assets.
-
In the left navigation, click
 Settings.
The Settings page appears.
-
Click the Tagging tile.
The Tags page appears. By default, the Categories tab is active.

-
In the upper-right corner of the page, click the
 Create Tag button.
The Create Tag page appears.
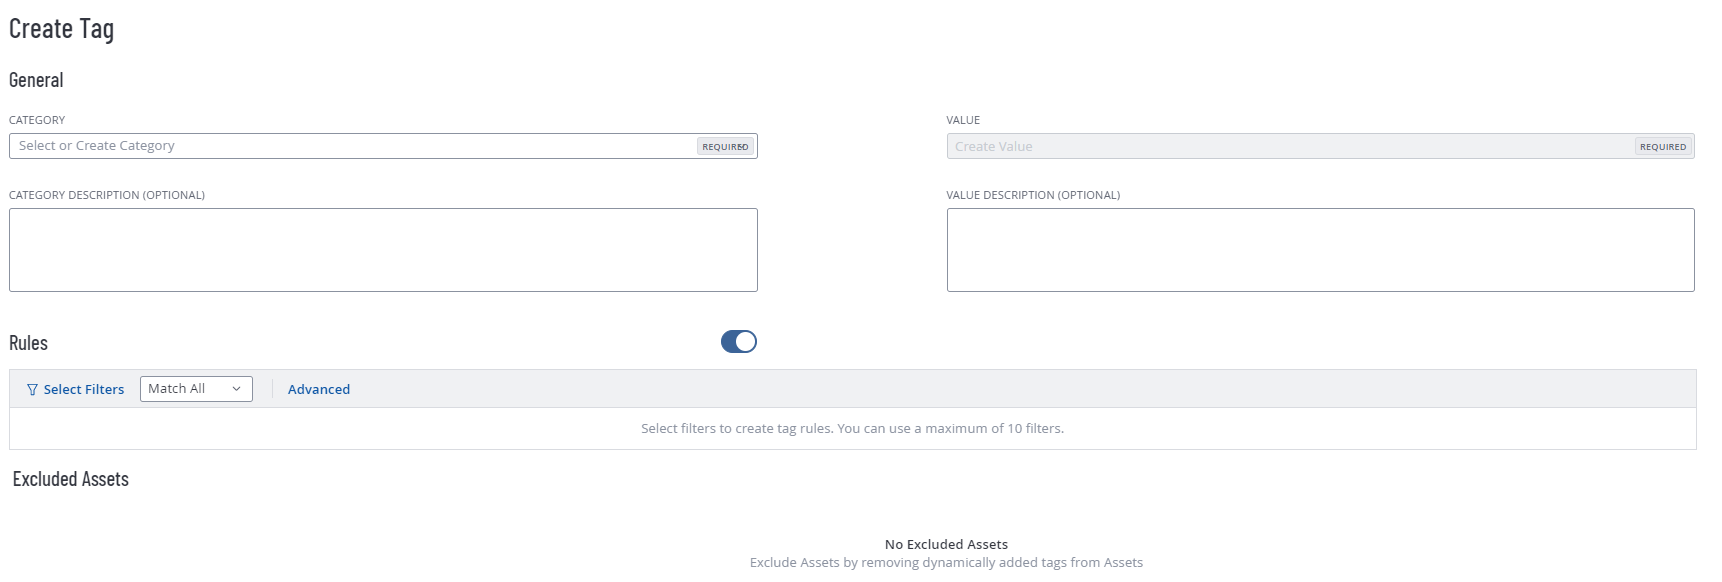
-
Follow the steps to tag your assets by OS or department (for example, OS: Windows Server). This scoping prevents "alert fatigue" by ensuring IT teams only receive tickets for assets they manage.
-
Click Save. Tenable One Vulnerability Management saves the tag and, if it is an automatic tag, applies it to the appropriate assets.
Step 3: Create and Launch the Initiative
Creating an initiative turns your data into a project with a deadline.
-
In the left navigation, click
Exposure Response.The Exposure Response page appears. By default, the
 Initiatives tab is active.
 -
In the My Initiatives section, click the
button.
The Create an Exposure Response Initiative pane appears.
-
On the Basic Setup tab, configure the following options:
-
In the Name box, type Q1 Ransomware Defense - Windows Fleet.
- Select the Ransomware Exploitable Vectors combination and the OS: Windows Server tag.
-
Set the Remediate Within (SLA) to 7 days.
-
Assign a Team Lead as the Owner.
-
-
On the Ticketing Automation tab, configure your preferred ticketing system to map critical severity findings to the highest priority (P1) available for your IT team.
-
Click Save.
The initiative appears in the My Initiatives panel. It can take up to 10 minutes to see the updated ticket information in both Tenable One Vulnerability Management and the selected ticketing system.
Step 4: Validate Remediation
Use the Combination Timeline to track the "Burn-down" of the risk. Review the timeline weekly. A downward slope indicates successful patching. A flat line indicates that the IT team may have encountered a technical blocker, such as a reboot window restriction.
Step 5: (Optional) Create a Dashboard for Reporting
Create a high-visibility dashboard to communicate progress to leadership.
-
Create a dashboard with one or all of the following widgets:
-
Initiative Progress Widget: Add a widget from the Template Library filtered to your specific initiative.
-
SLA Compliance Widget: Create a bar chart grouped by SLA Status (In SLA, Near SLA, Out of SLA).
-
Trend Line: Add a trend widget to show the total count of ransomware vulnerabilities over the last 30 days.
Tip: For more information on dashboards and widgets, see Dashboards and View the Widget Library. -