Tenable Web App Scanning Scan Workflow
Configure web application scans to collect data about your web applications for analysis. This overview walks you through the main steps you need to create, configure, launch, and manage Tenable Web App Scanning scans. Depending on your organization, one person may perform all of the steps, or several people may share the steps.
My Scans
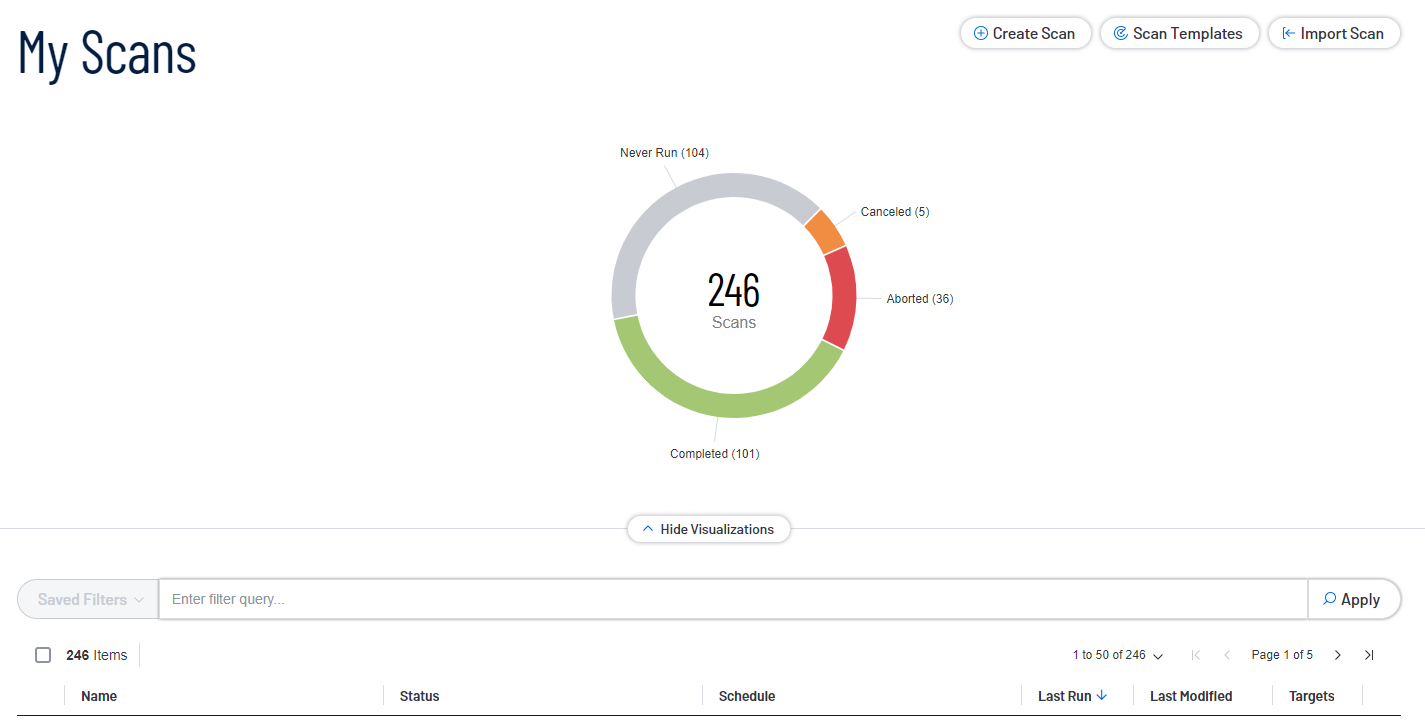
The My Scans page shows your total number of scans and visualization widgets for several categories of scan statuses: Never Run, Canceled, Aborted, Completed. These visualizations can be hidden, and unhidden, by clicking the Hide Visualizations (or Show Visualizations) button. For more information, see Scan Status.
View your My Scans page
-
In the left navigation plane, click
 Scans.
The My Scans page appears.
-
On your My Scans page, you can perform any, or all, of the following actions to your scan by clicking the
 button:
Note: Not all scan actions are available for all scans in your list. For example, a scan that is tagged as imported only has Move and Trash actions.
Scan Distribution
Scans are added to the database in the order in which they come in. The system picks the oldest ones first, determined by the “created” date. For more information, refer to Scan Distribution in the Tenable Vulnerability Management User Guide.
Next steps:
