Install Tenable One OT Exposure on Tenable Core
Tenable-provided hardware appliances come with the Tenable One OT Exposure application pre-installed. When deploying Tenable One OT Exposure on custom hardware or virtually, it is required to initiate the installation process manually.
Before you begin
-
Make sure you have Administrative access.
-
Make sure that you have SSH or Cockpit access on Tenable Core virtual and physical appliances.
Note: Administrator accounts can become inaccessible if you do not periodically sign in and update your password. If an administrative account gets locked due to password expiration, you can unlock the account using the remote unlock utility. This utility allows an ICP to remotely unlock its connected sensors and an Tenable One OT Exposure Enterprise Manager (EM) to remotely unlock its connected ICPs in the event of an account lockout. For more information about using the utility, see the Knowledge Base article, Leveraging the Remote Unlock Feature in Tenable Core.
To install Tenable One OT Exposure in Tenable Core:
-
Log in to Tenable Core from your Chrome browser: https://<mgmt-ip>:8000.
-
Navigate to Tenable One OT Exposure.
The Tenable One OT Exposure page appears.
Note: On virtual machines and non-Tenable hardware, you are prompted to install Tenable One OT Exposure.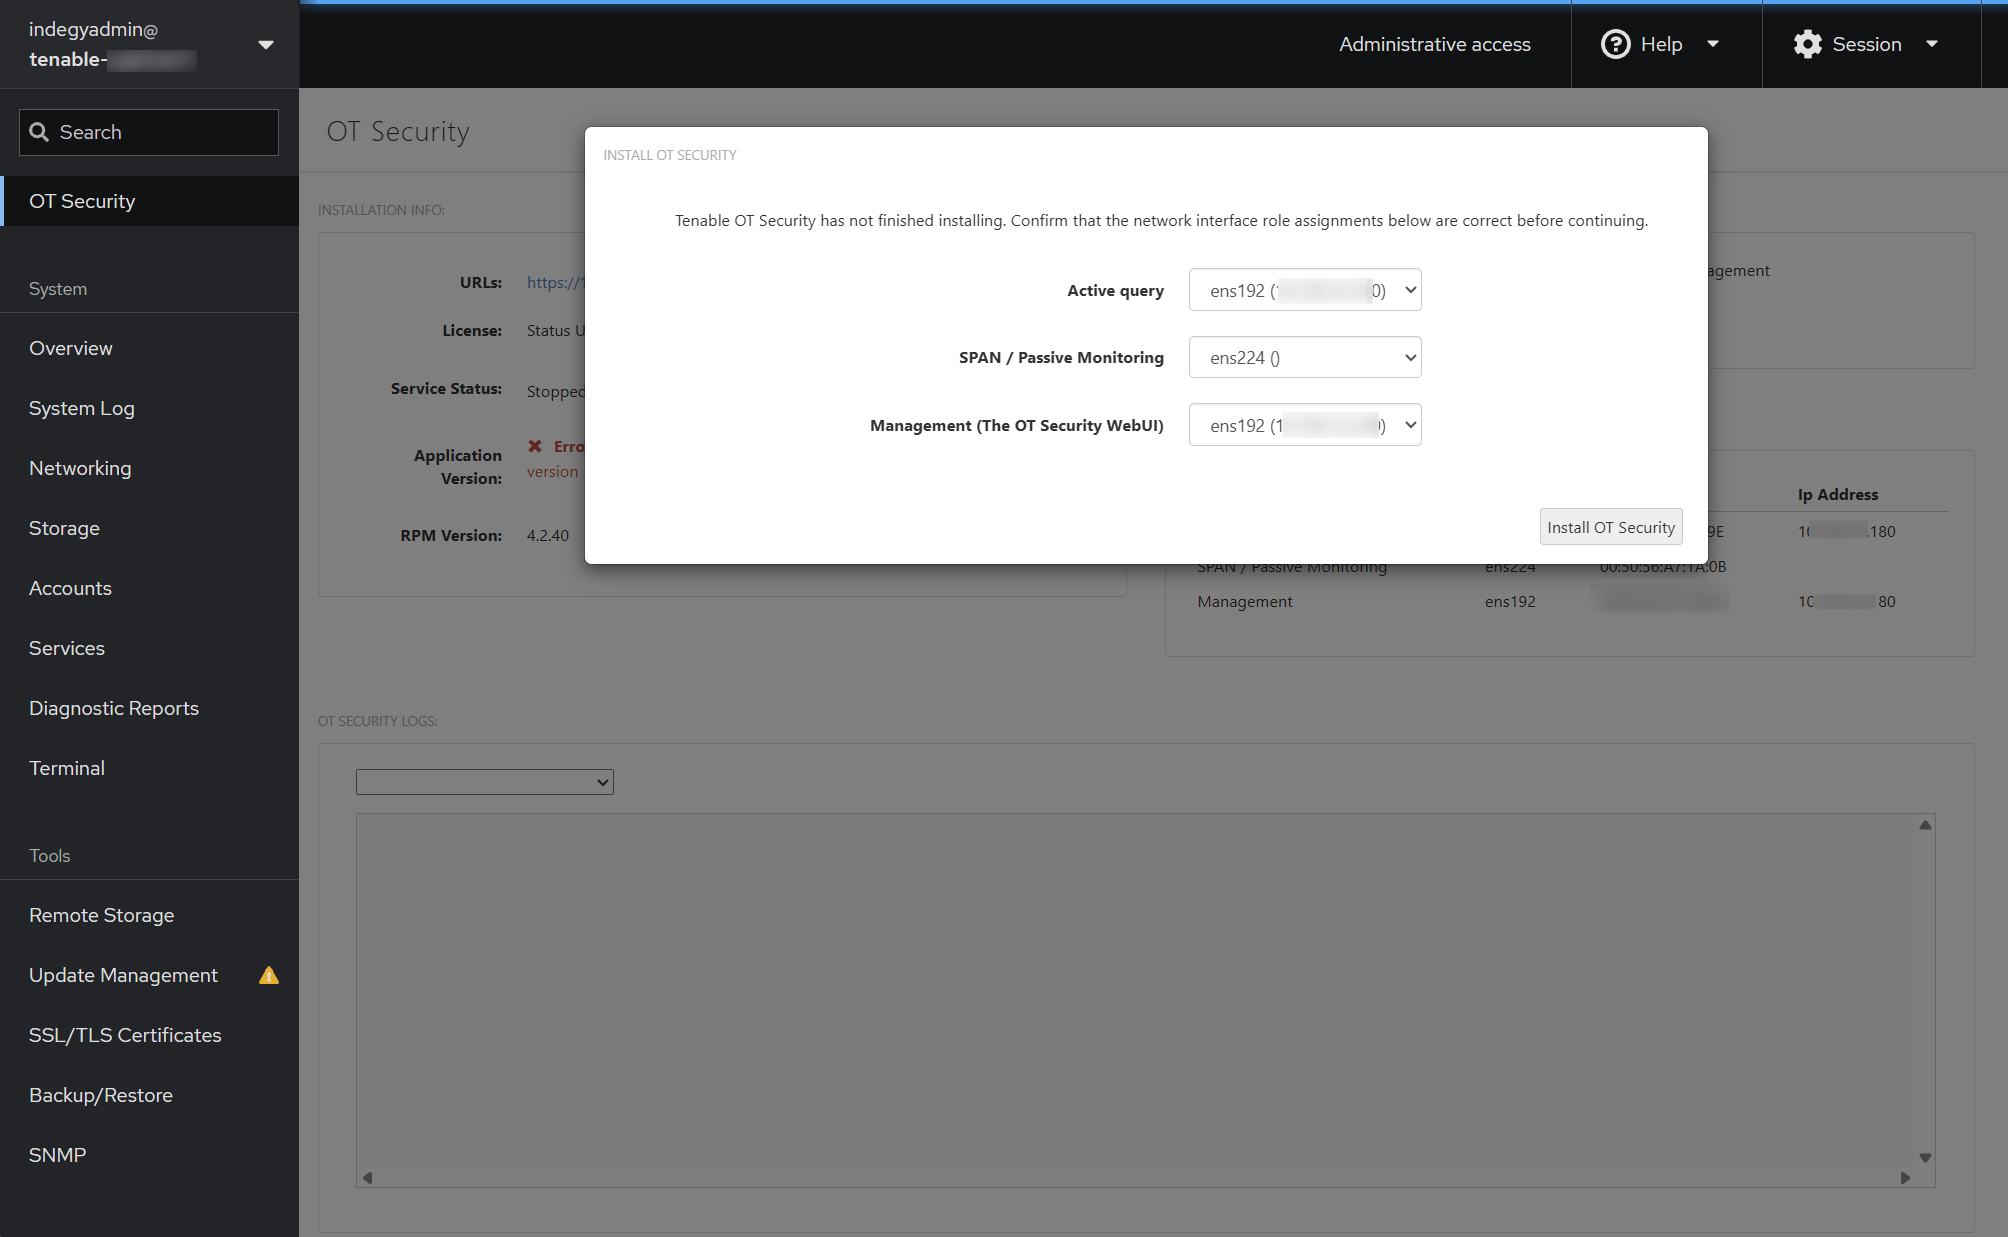
-
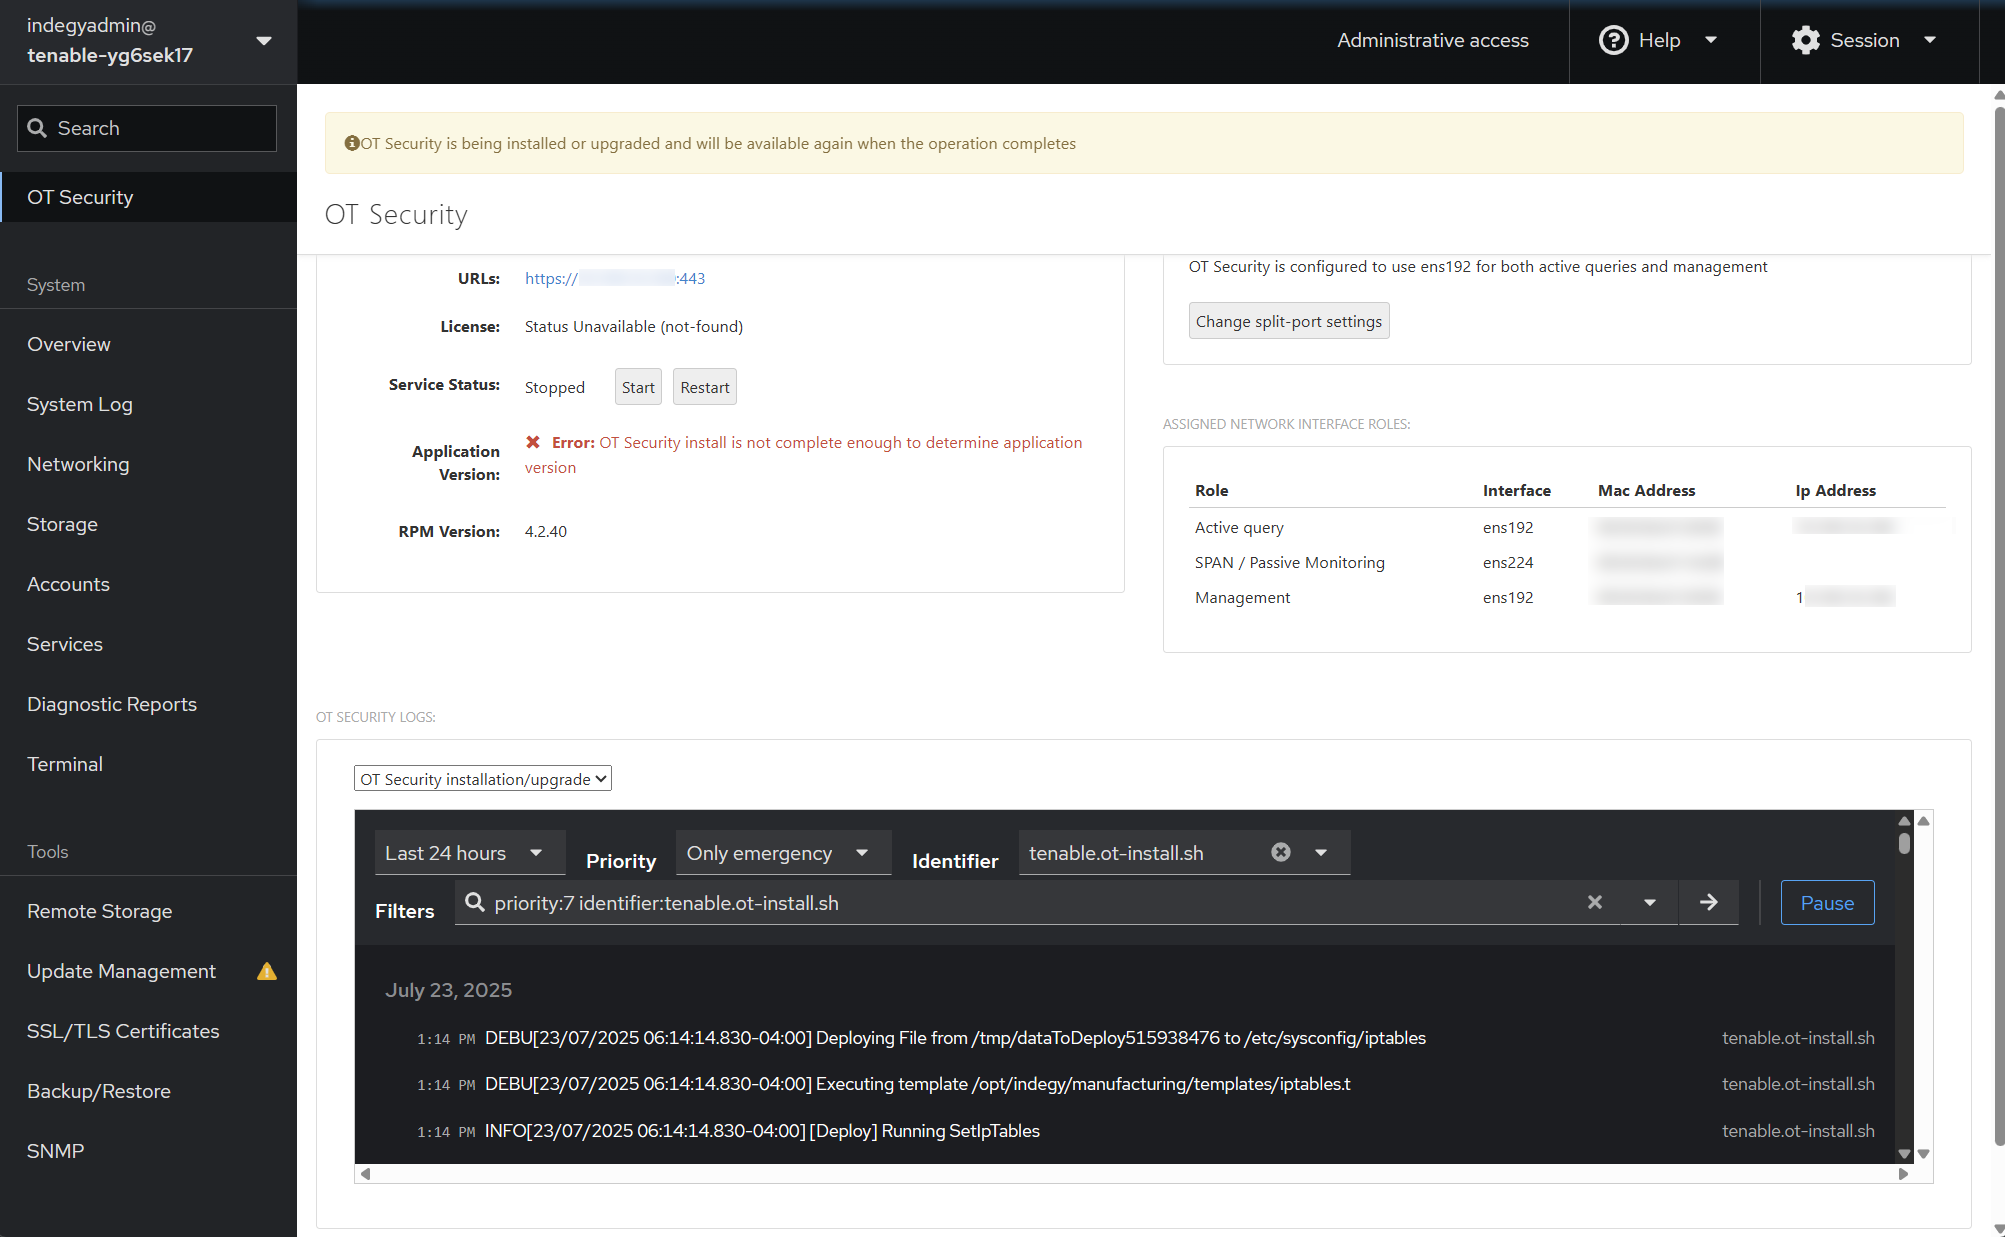
Click Install Tenable One OT Exposure.
Tenable Core initiates the installation and displays a yellow banner with the message: Tenable One OT Exposure is being installed or upgraded and will be available again when the operation completes.
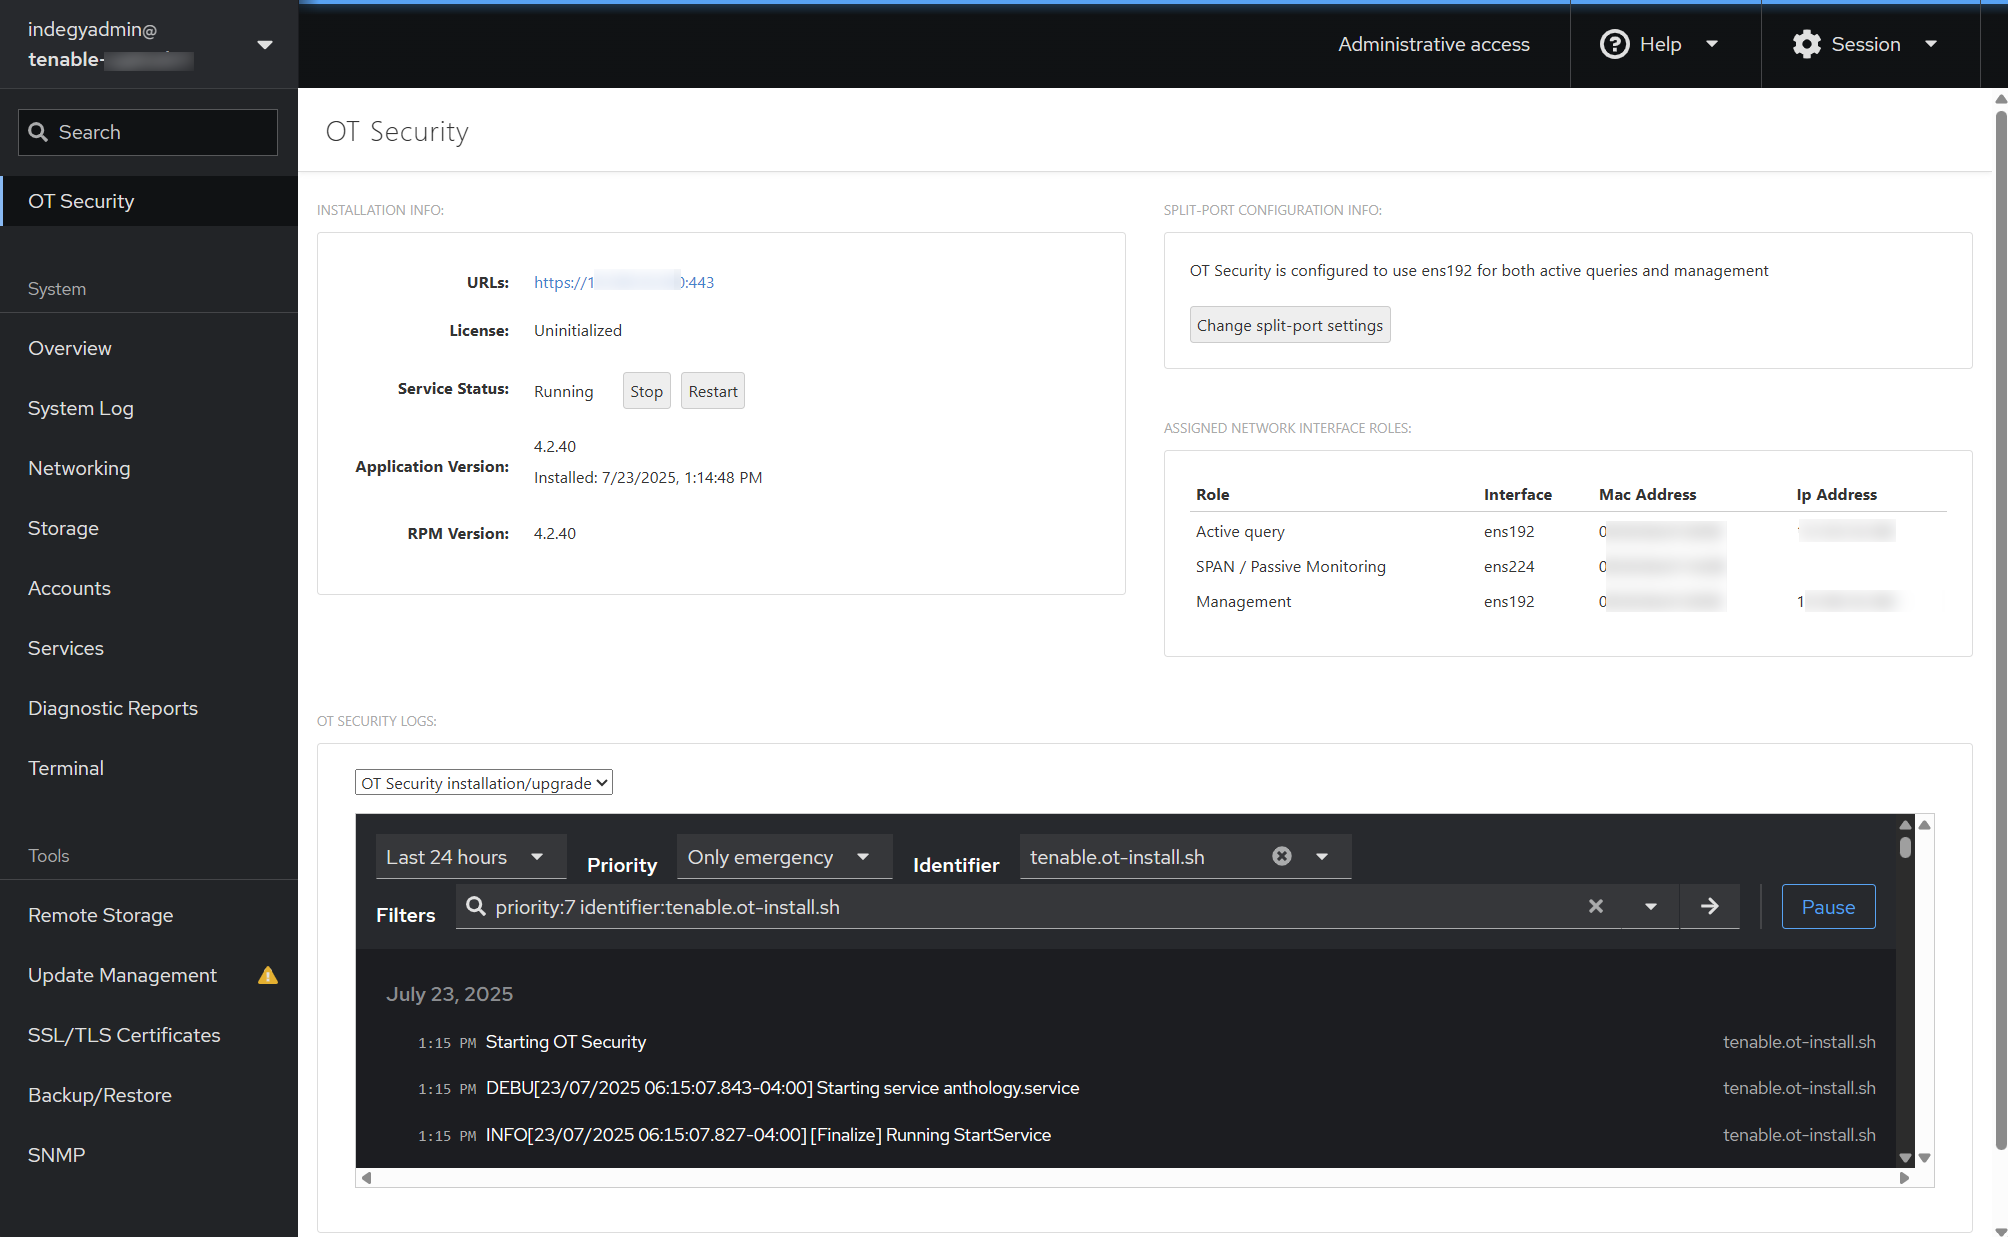
When the installation is complete, the yellow banner disappears and the License status changes from Unavailable to Uninitialized .
-
(Optional) Select the interface roles.
Note: You can choose to retain the default configuration. The default interfaces configuration includes Port 1: Management + Active Query and Port 2: Passive Monitoring.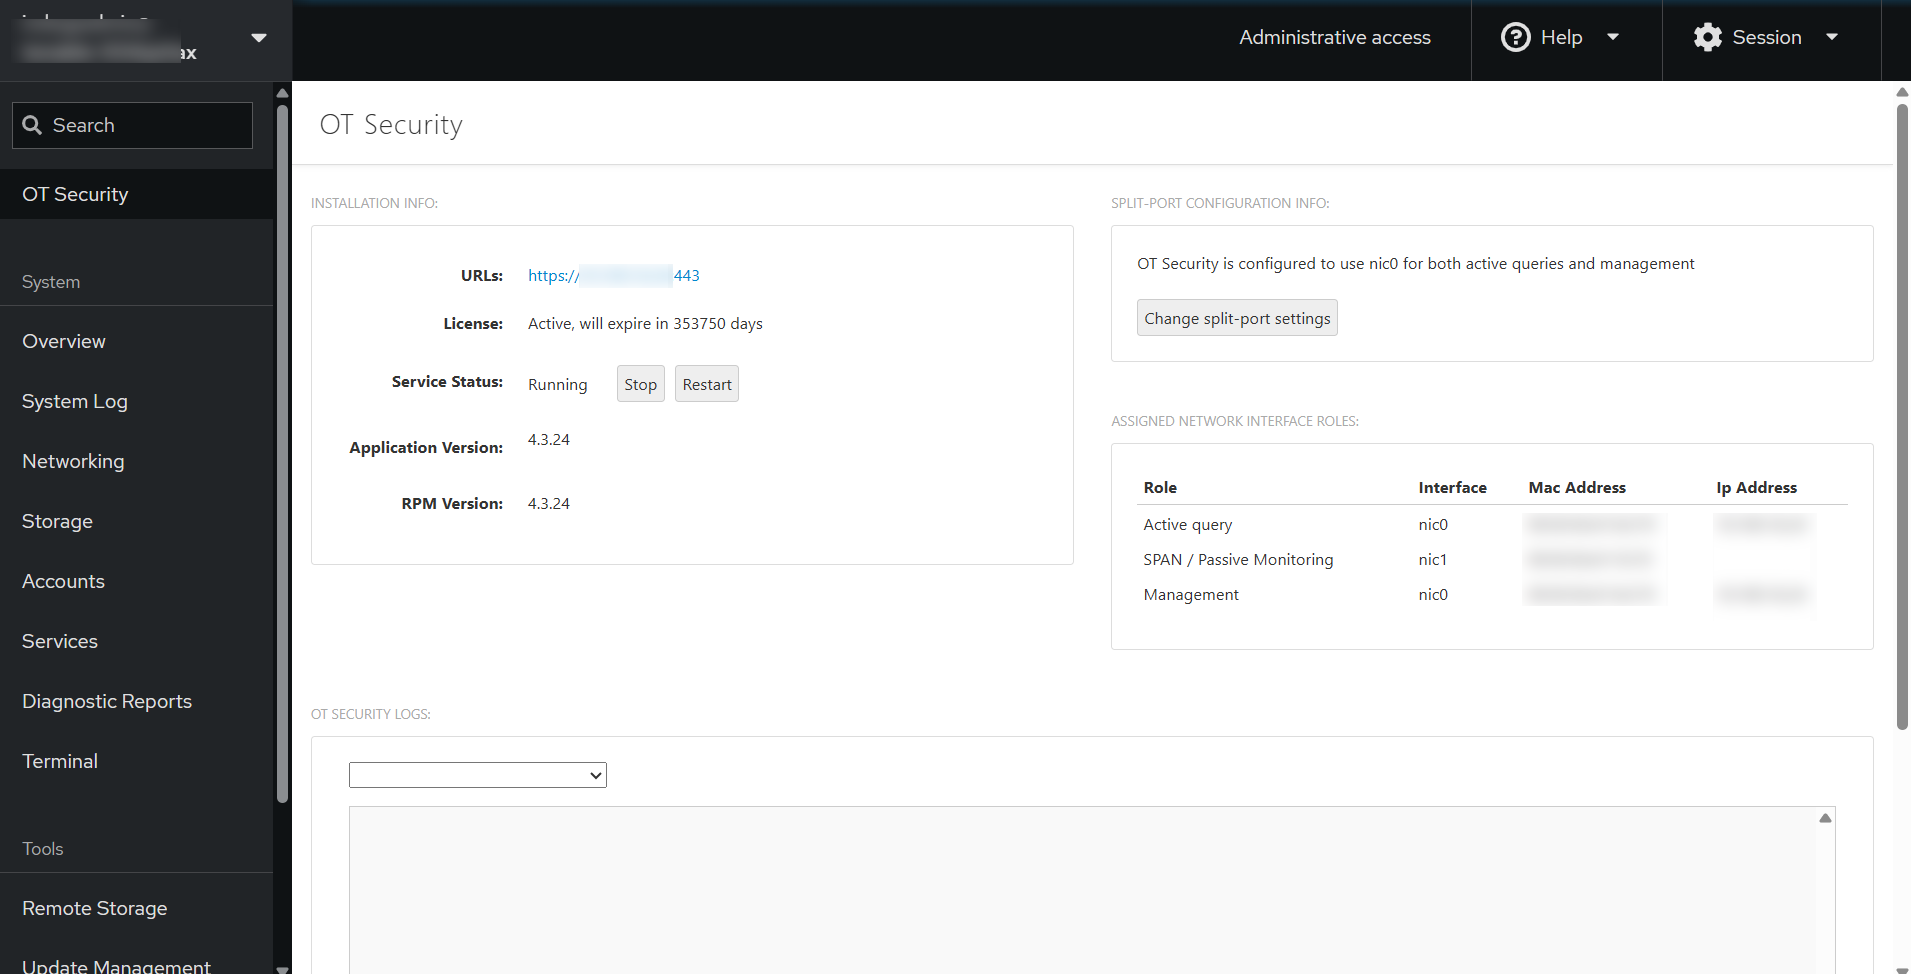
-
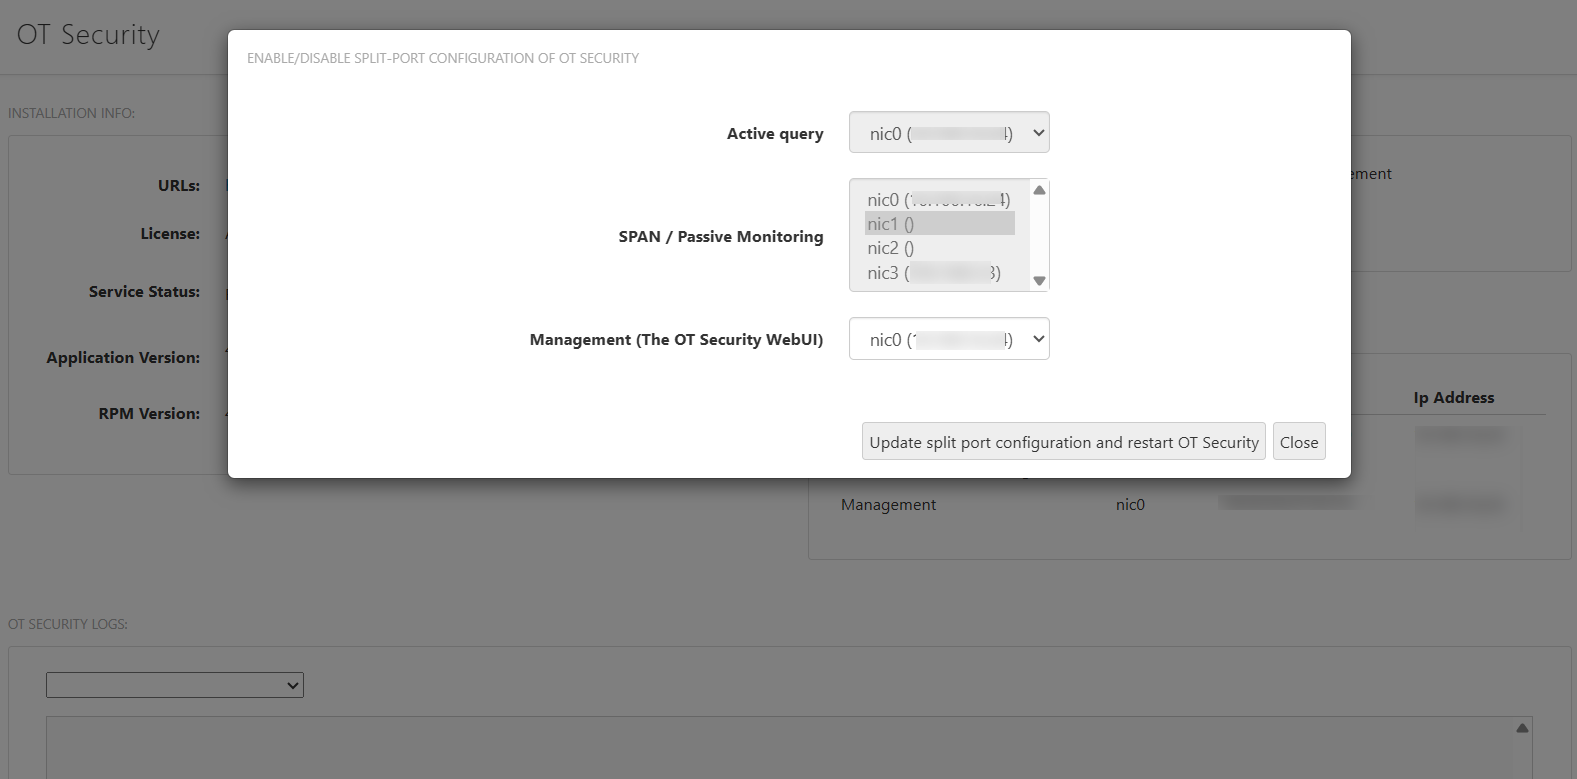
In the Split Port Configuration Info section, click Change split-port settings.
The Enable/Disable Split Configuration of Tenable One OT Exposure window appears.
-
In the Management (The Tenable One OT Exposure Web UI) box, move the management port to another interface, for example, Port 3.
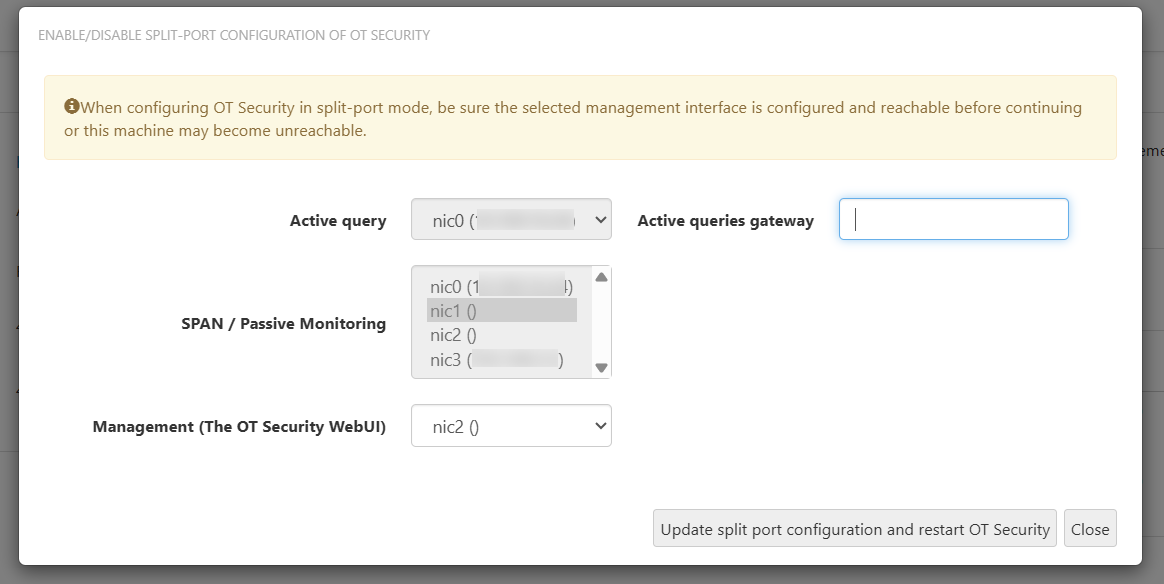
-
(Optional) In the Active queries gateway box, provide the gateway IP address.
-
Click Update split-port configuration and restart OT Security.
Tenable Core initiates a restart or installation as required.
-
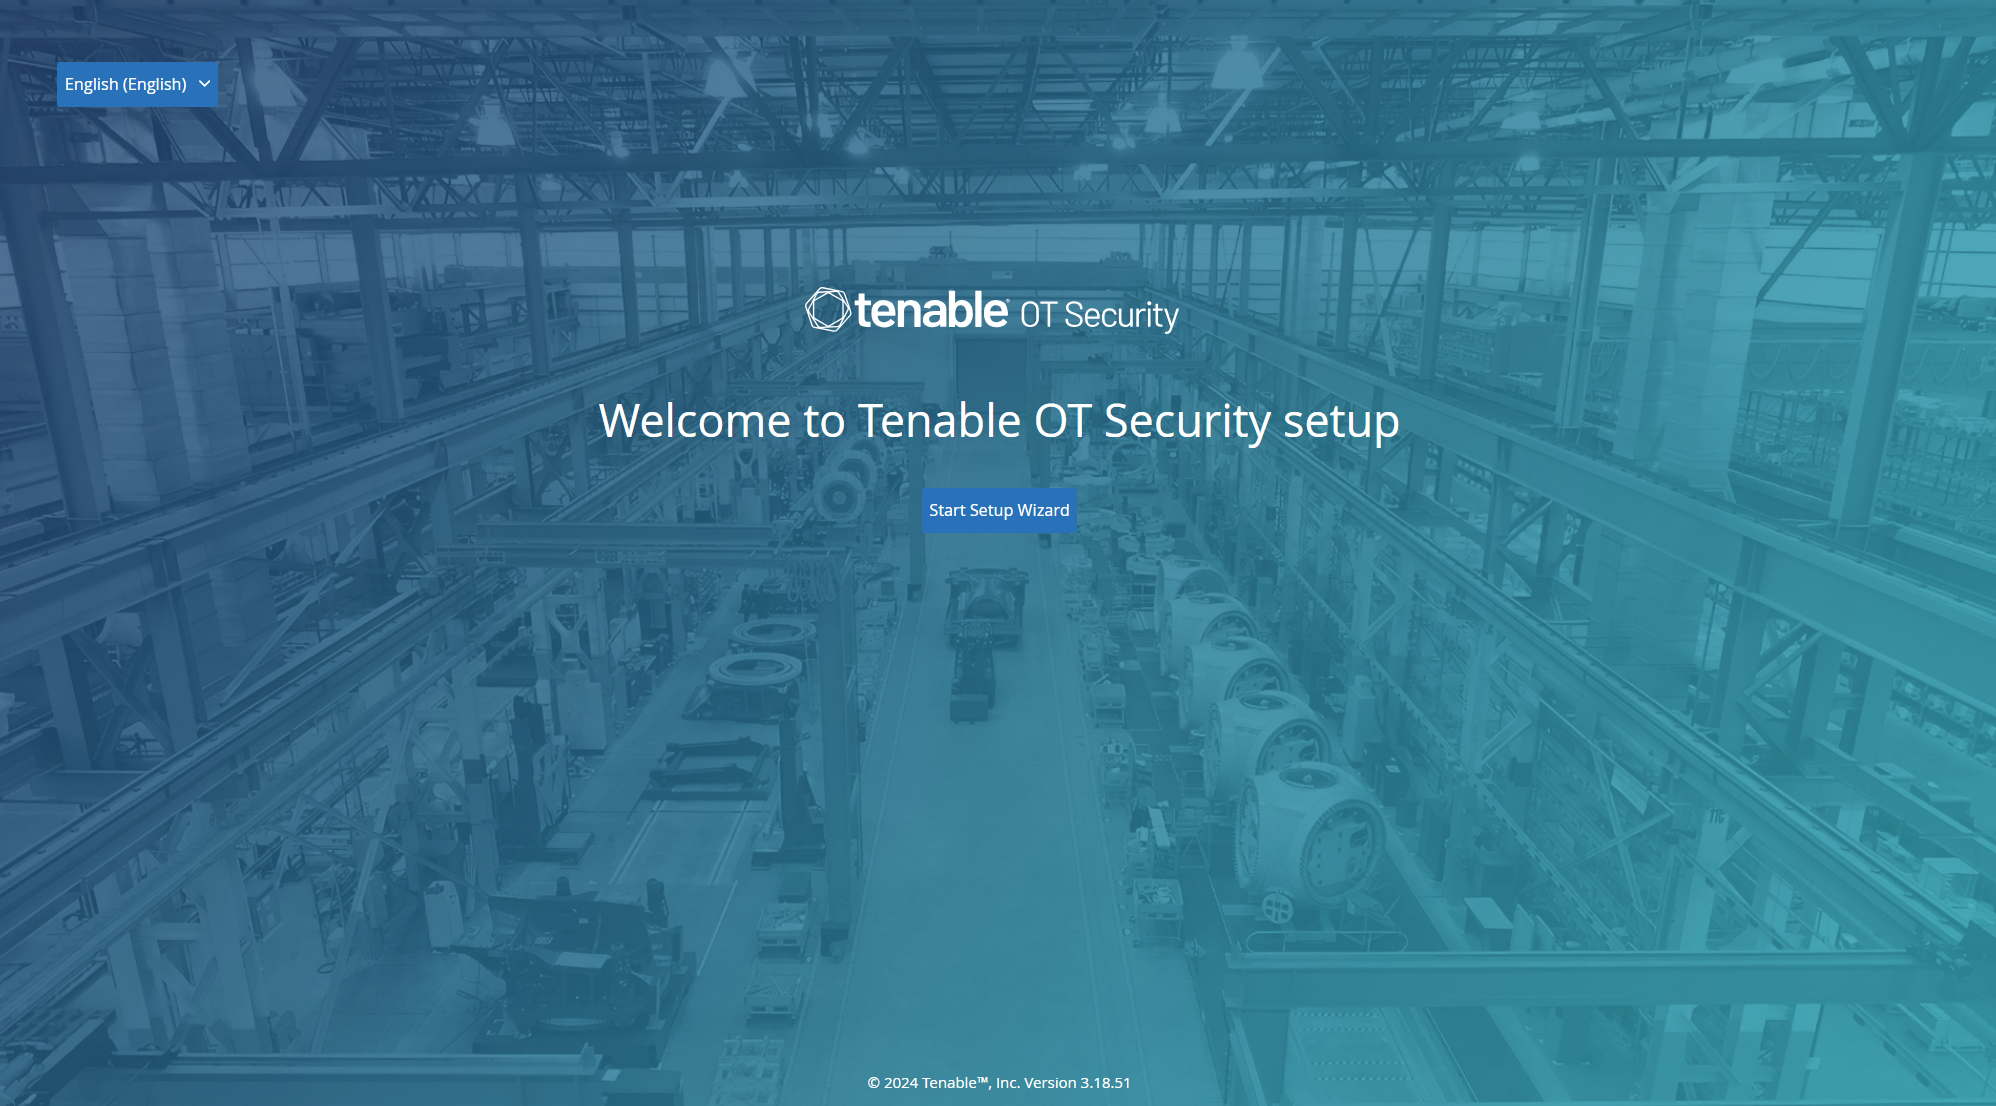
When the installation is complete, you can click the link in the URLs box to log in to the Tenable One OT Exposure user interface.
What to do next
Configure Tenable One OT Exposure Settings using Setup Wizard