Configure Tenable Security Center Certificates
Connect to Tenable Security Center Certificates by creating the account configuration.
Note: SSL Verification - Splunk requires all connections to verify SSL by default and not be configurable via the UI. To configure your TSC connection to not verify SSL certificate you will need to modify {SPLUNK_HOME}/etc/apps/TA-tenable/bin/tenable_consts.py and set to verify_ssl_for_sc_cert = False. For additional information on Tenable Security Center Certificates, see SSL Client Certificate Authentication.
To configure your account for Tenable Security Center Certificates:
- Log in to your data collection node.
-
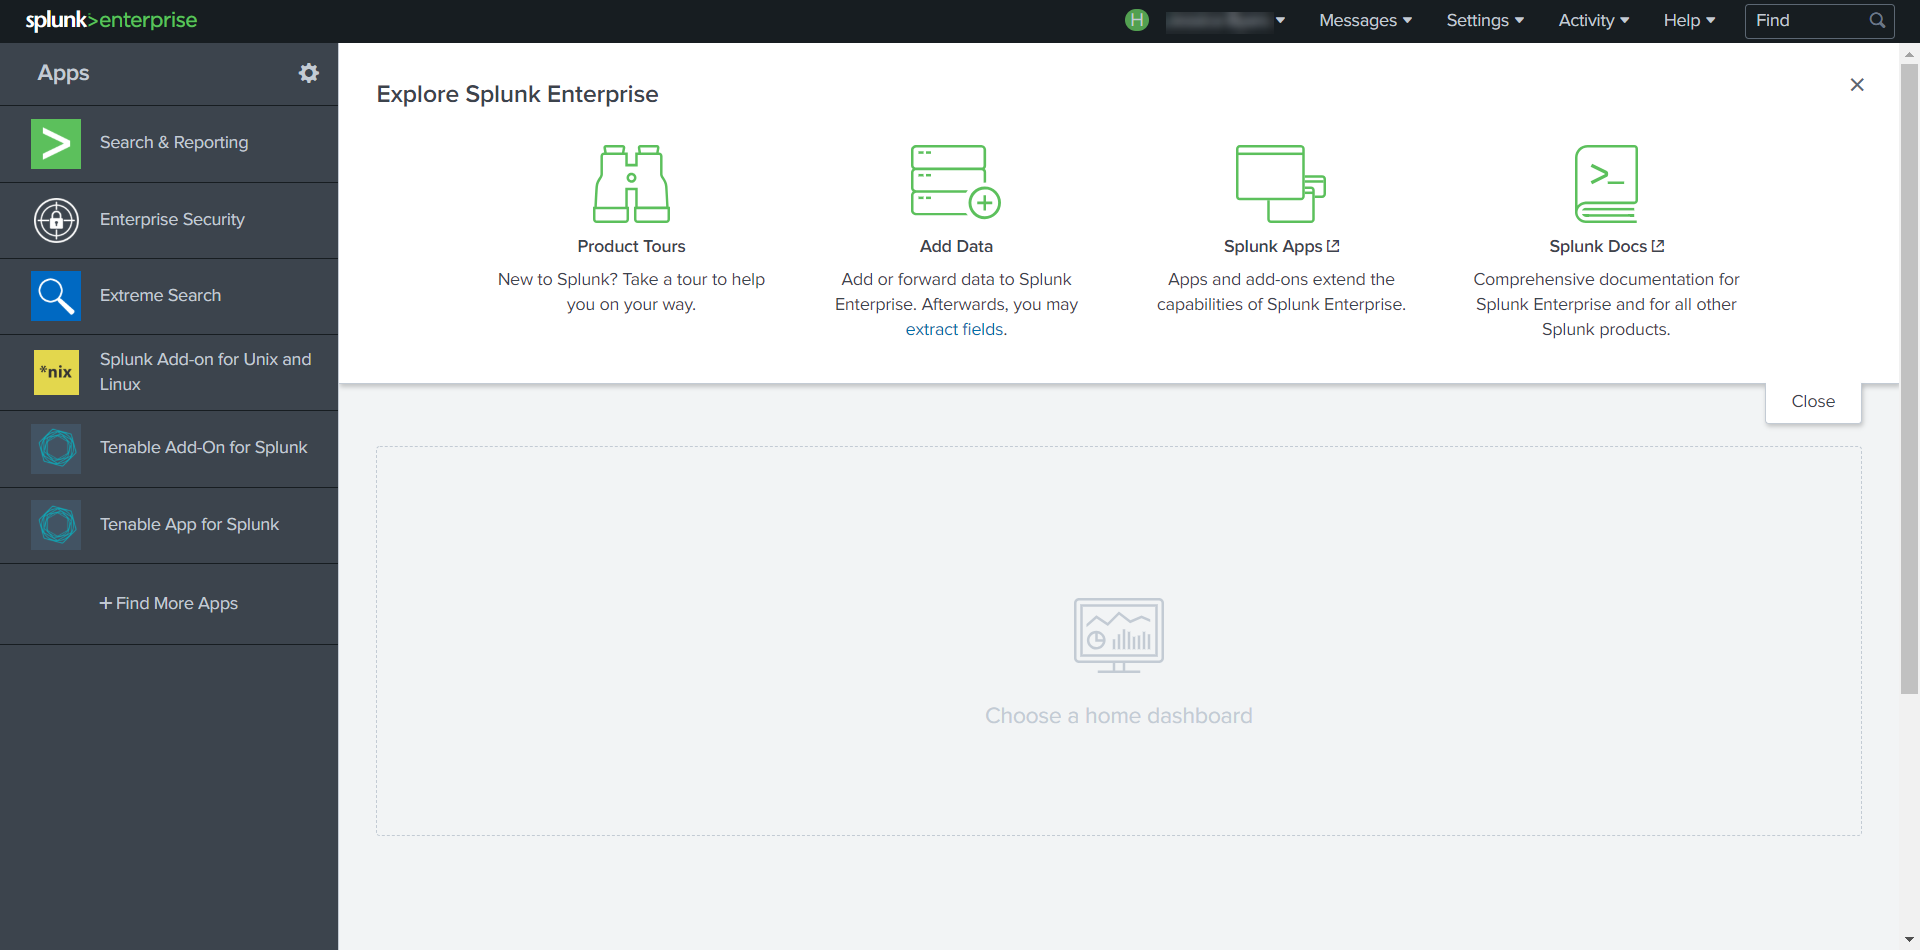
In the left navigation bar, click Tenable Add-on for Splunk.
-
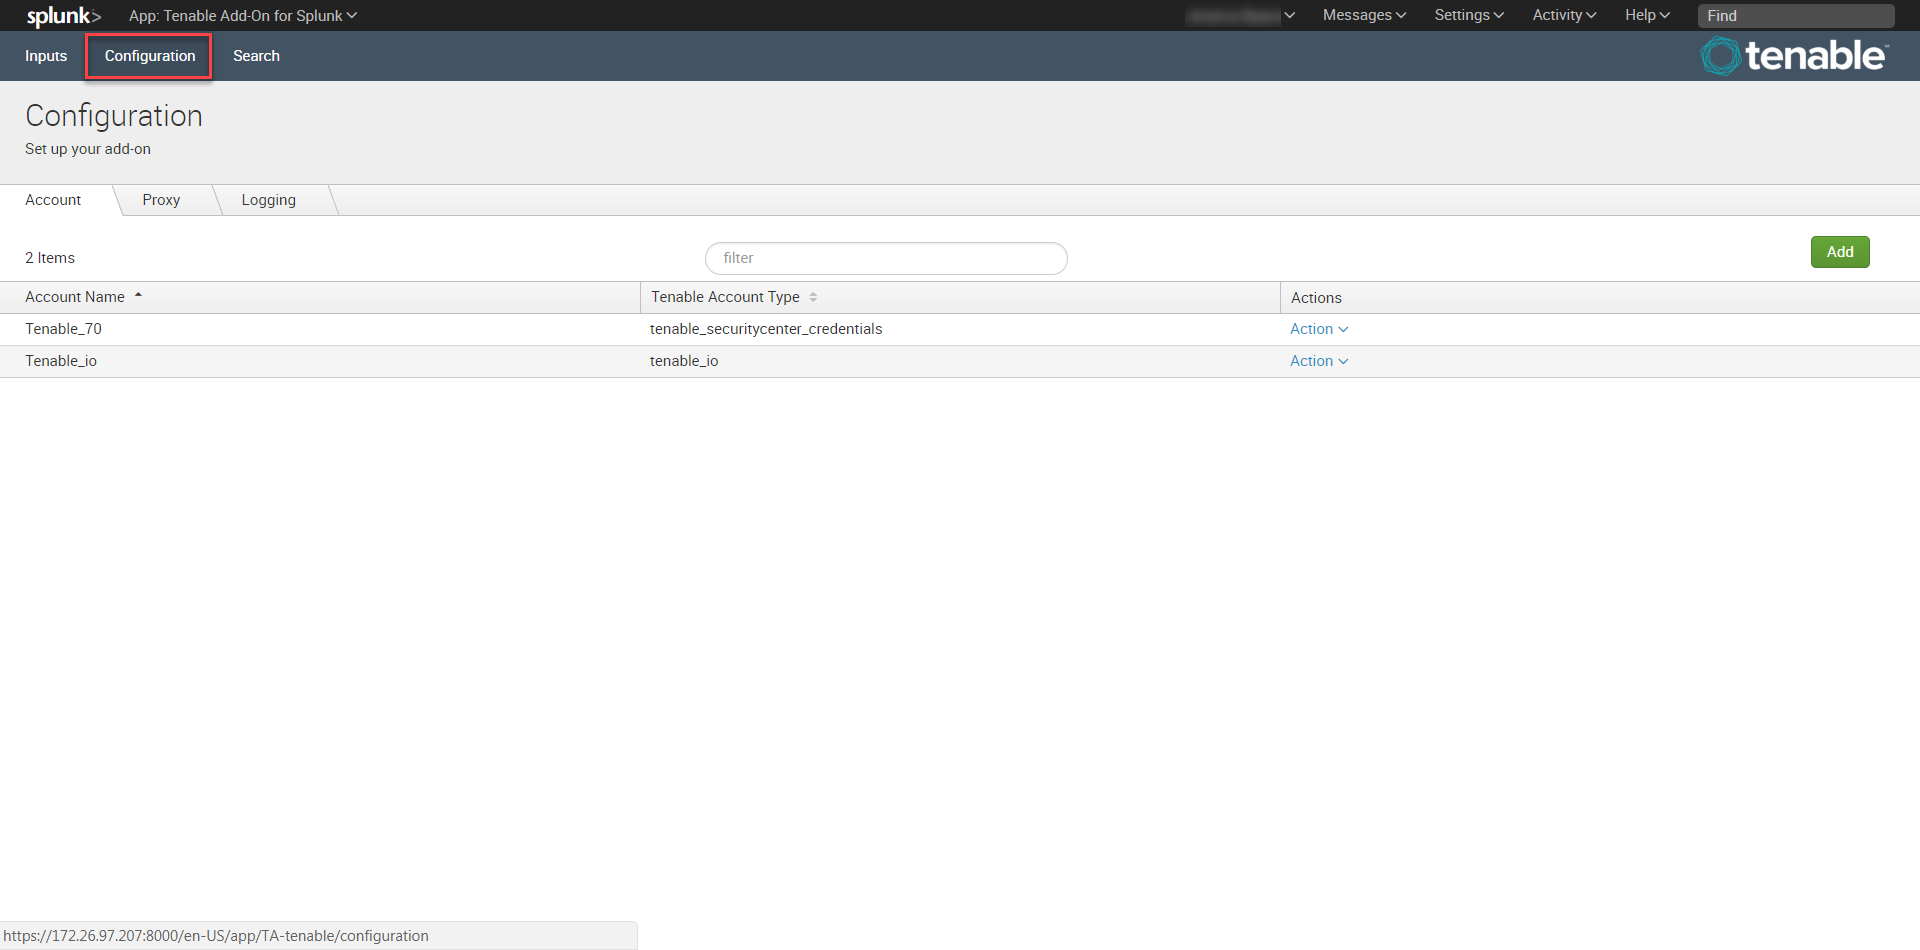
Click the Configuration tab.
-
Click the Add button.
The Add Account window appears.
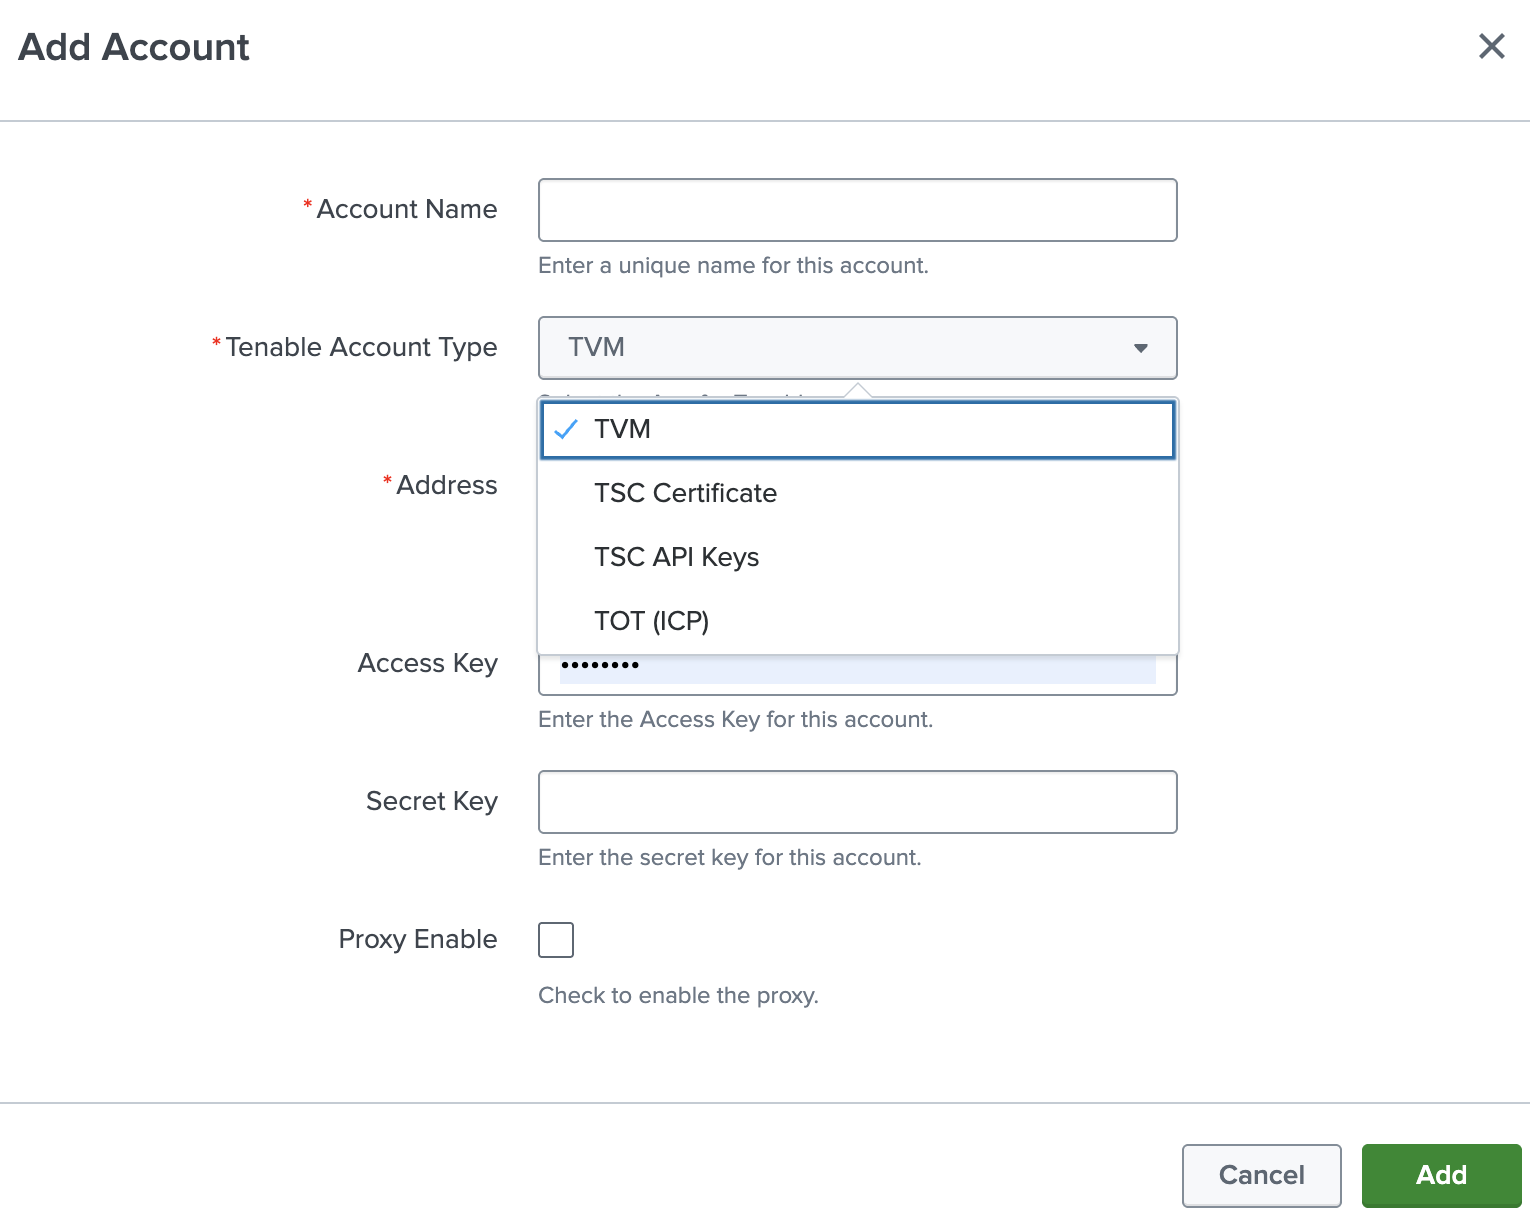
- In the Tenable Account Type box, select TSC Certificates.
-
Enter the necessary information for each field. The following table describes the available options.
Note: The certificates you upload and configure must be associated with a specific user in Tenable Security Center.
Input Parameters Description Account Name (Required) The unique name for each Tenable Security Center data input. Tenable Account Type (Required) The type of Tenable account - Tenable Vulnerability Management, Tenable Security Center API Keys, or Tenable Security Center Certificate. Address (Required) The hostname or IP address for Tenable Security Center. Verify SSL Certificate Enabled by default, Splunk verifies the certificate in Tenable Security Center. To disable, set one or more of the following to ‘False’ based upon your use case:
-
verify_ssl_for_sc_cert = True
-
verify_ssl_for_sc_api_key = True
-
verify_ssl_for_sc_creds = True
T.sc Access Key (Required) Tenable Security Center API access key. T.sc Secret Key (Required) Your Tenable Security Center API secret key. Certificate Filename The name of the certificate that you uploaded to $SPLUNK_HOME/etc/apps/TA-tenable/certs/. Key Filename The name of the key that you uploaded to $SPLUNK_HOME/etc/apps/TA-tenable/certs/. Key Password The password for the key file you uploaded. Proxy Enable Enables the plugin to collect Tenable Security Center data via a proxy server. If you select this option, the plug- in prompts you to enter the following:
- Proxy Type - the type of proxy used.
- Proxy Host - the hostname or IP address of the proxy server.
- Proxy Port - the port number of the proxy server.
- Proxy Username - the username for an account that has permissions to access and use the proxy server.
- Proxy Password - the password associated with the username you provided.
-
- Click Add to complete the configuration.
Install certificate authority:
-
Run the following command to make a backup of the cacert.pem file.
# cp $SPLUNK_HOME/etc/apps/TA-tenable/lib/certifi/cacert.pem /tmp/cacert.pem
-
Run the following command to append the PEM-encoded root certificate authority that signed the Tenable Security Center SSL certificate to the cacert.pem.
# cat <path_to_root_ca.pem> >> $SPLUNK_HOME/etc/apps/TA-tenable/lib/certifi/cacert.pem
-
Run the following command to restart Splunk.
# /opt/splunk/bin/splunk restart
Splunk installs the self-signed certificate to trust in your configuration.
Next steps
- Create an Input for the Tenable Add-On for Splunk.